How to Paint Interior: Beginner Mistakes and How to Avoid Them
Why Learning How to Paint Interior the Right Way Changes Everything
Knowing how to paint interior walls correctly is the difference between a room that looks fresh and polished — and one that peels, streaks, or needs to be redone in a year.
Here’s a quick overview of the full process:
- Plan your project — measure the room, set a budget, choose your colors and finish
- Prep the room — move furniture, remove outlet covers, protect floors with drop cloths
- Clean and repair walls — wash with a TSP substitute, fill holes, sand smooth
- Prime — apply primer on new drywall, stained surfaces, or when going from dark to light
- Paint the ceiling first — use ceiling-specific paint and work edge to edge
- Cut in edges — use a 2-inch angled brush along trim, corners, and ceilings
- Roll the walls — use a W or M pattern with a 3/8-inch nap roller, working in sections
- Remove tape and clean up — pull tape while paint is still slightly tacky, wash tools, store leftover paint properly
Painting is one of the most popular DIY home improvement projects — and for good reason. About 65% of homeowners have painted a room themselves, and few upgrades deliver that kind of immediate, visible transformation for the effort involved.
But here’s what most beginners don’t realize: the painting itself is actually the easy part. Proper surface preparation accounts for up to 80% of a professional-looking result. Skipping steps — rushing past primer, ignoring wall repairs, or pulling tape at the wrong moment — is what turns a satisfying weekend project into a frustrating redo.
This guide walks you through every stage, from prep to final coat, so you get it right the first time.
I’m Jean Hauser, owner of The Color House, Rhode Island’s premier Benjamin Moore retailer, and I’ve spent over two decades helping homeowners navigate exactly these decisions — from choosing the right finish to understanding how to paint interior spaces that hold up beautifully for years. Whether you’re tackling your first room or your tenth, the guidance ahead will help you avoid the mistakes that cost time and money.

Simple guide to How to paint interior? terms:
How to Paint Interior? Step-by-Step Guide to Professional Results
Achieving professional results requires a solid plan. Before you even open a can of paint, you need to map out your timeline and budget. As of June 2026, the average DIY interior painting project costs between $80 and $200 in materials per room, whereas hiring a professional crew can quickly add up.
When mapping out your project, timing is everything. A standard 12×12-foot room requires about 4 to 6 hours of prep work, plus another 2 to 3 hours of active painting for two solid coats. If you try to rush this timeline, the paint will let you know by bubbling, running, or peeling. To keep your project on track, follow the structured approach detailed in this Whole House Interior Painting: A Step-by-Step Guide. Planning your steps carefully is the secret to a stress-free transformation, as outlined in How to Paint Your Interior, Step by Step – Walker V Painting.
Prep Work: How to Paint Interior? The Ultimate Setup

As professional painters often say, prep work is 80% of the job. If you paint over dirty, greasy, or damaged walls, your new topcoat won’t adhere properly and will eventually peel.
To set yourself up for success, follow these essential prep steps:
- Clear the Space: Empty the room of small items. Move heavy furniture to the center and cover it with plastic sheeting.
- Protect the Floors: Lay down canvas drop cloths instead of cheap plastic sheets. Canvas absorbs paint drips and won’t slide around under your feet.
- Remove Hardware: Remove all outlet covers, switch plates, and HVAC registers. Keep the screws in labeled plastic bags so they don’t vanish.
- Wash the Walls: Wipe down your walls with a TSP (trisodium phosphate) substitute or mild soapy water 24 hours before painting to remove dust, grease, and fingerprints.
- Repair Damage: Fill nail holes and minor cracks with a high-quality spackling compound. Once dry, sand the patched areas smooth using 120-grit sandpaper.
- Apply Painter’s Tape: Tape off baseboards, window frames, and crown molding. Use a putty knife or credit card to press the tape edges down firmly to prevent paint bleed.
Having the right tools on hand prevents late-night runs to the store. Gather your interior paint supplies beforehand. Investing in premium paint brush brands you can find at The Color House ensures you won’t spend your weekend picking loose brush hairs out of your wet paint. For a full breakdown of the absolute beginner’s toolkit, consult this guide on How to Paint a Room Like a Pro (Even If You’ve Never Done It) | Practical Home Guides.
Master the Technique: Cutting In and Rolling Like a Pro
Once your room is prepped, it’s finally time to paint. Always work from the top down: ceilings first, walls second, and trim last.
“Cutting in” refers to painting the edges, corners, and areas near trim where a roller cannot reach. Use a high-quality 2-inch angled sash brush. Dip the brush about one-third of the way into the paint, tap off the excess, and paint a clean 2- to 3-inch strip along the taped borders. To prevent visible lap marks, only cut in one wall at a time and roll it immediately while the cut-in edges are still wet.
When rolling the walls, use a 9-inch roller frame equipped with a 3/8-inch nap roller cover (ideal for standard smooth drywall). Load the roller evenly in your paint tray—it should be fully loaded but not dripping. Apply the paint to the wall in a W or M pattern across a 3×3-foot section, then roll vertically to fill in the gaps. This technique ensures even coverage and eliminates roller streaks. Apply thin, even coats rather than heavy ones, and allow 2 to 4 hours of drying time between coats. Always pull your painter’s tape off at a 45-degree angle while the final coat is still slightly tacky to achieve razor-sharp lines.
How to Paint Interior? Choosing Colors, Finishes, and Window Treatments

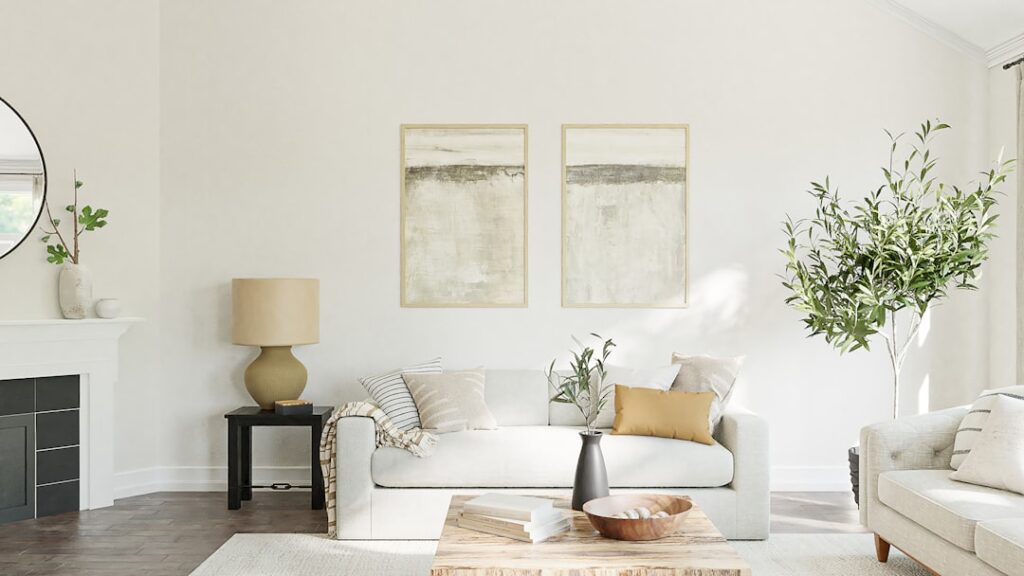
Choosing the perfect color can feel overwhelming, but utilizing the ultimate guide to best indoor paint colors for walls can narrow down your choices. We highly recommend testing physical paint samples in your space. Light changes dramatically throughout the day, and a color that looks like a soft beige in our store might look pale yellow in your living room’s afternoon light.
Reviewing expert tips for choosing home paint colors will help you look beyond the swatches to find a shade that matches your room’s natural lighting and mood.
Selecting the correct paint sheen is just as important as the color. Refer to this quick guide to choose the right finish for your space:
| Paint Sheen | Durability & Washability | Best Rooms / Uses |
|---|---|---|
| Flat / Matte | Low; hides imperfections well | Ceilings, low-traffic bedrooms |
| Eggshell | Moderate; soft, velvety finish | Living rooms, dining rooms, adult bedrooms |
| Satin | High; easy to clean with a soft sheen | Hallways, entryways, kids’ rooms, family rooms |
| Semi-Gloss | Very High; moisture-resistant and shiny | Kitchens, bathrooms, baseboards, trim, doors |
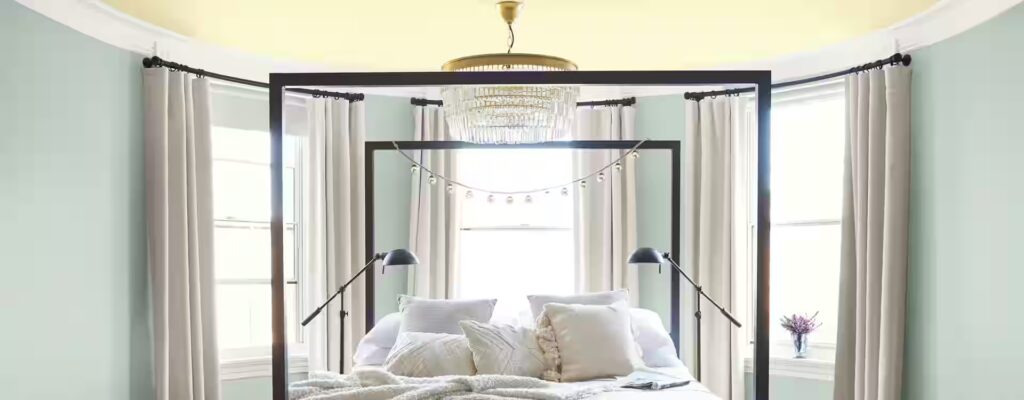
Your walls do not exist in a vacuum; they interact constantly with your furniture and window coverings. When selecting your wall colors, consider how they will coordinate with your indoor window treatments, blinds, and draperies. Choosing coordinating colors creates a unified, designer-level flow throughout your home.
Common DIY Mistakes and How to Avoid Them
Even with the best intentions, DIYers frequently fall into a few common traps. According to the Interior Painting Guide: 5 Costly Mistakes 90% of DIYers Make (And How to Fix Them) – Zyro Magazine, skipping crucial preparation steps is the leading cause of a failed paint job. Understanding these mistakes beforehand is the best way to save your budget and your sanity.
Skipping Primer and Rushing Dry Times
Many homeowners wonder if they can skip using primers to save a few dollars. While you can sometimes bypass primer if you’re painting a similar color over a clean wall that is already in excellent condition, you absolutely must prime in the following situations:
- Painting over bare drywall, plaster, or wood.
- Making a drastic color transition (such as dark blue to light cream).
- Painting over glossy finishes, stains, or water damage.
Skipping primer over patched drywall will lead to “flashing,” where the repaired spots absorb paint differently and dry with a distracting, uneven sheen.
Rushing the drying time between coats is another classic mistake. Applying a second coat before the first has fully dried traps moisture beneath the surface, resulting in unsightly bubbling, peeling, or cracking. If you run into these issues, refer to our guide on fixing common paint problems to repair the surface properly.
Neglecting Your Trim, Cabinets, and Indoor Window Treatments
A gorgeous wall paint job can be completely ruined by yellowed trim, outdated cabinets, or mismatched window coverings. If your kitchen cabinets are looking tired, you can tackle them yourself by following our guide to cabinet painting success.
To truly elevate your room, coordinate your fresh walls with custom indoor window treatments, beautiful blinds, and elegant draperies. Updating your window coverings alongside your paint project creates a cohesive, high-end look. Choosing the right indoor window treatments, such as custom wood blinds or elegant fabric draperies, ensures your newly painted windows look polished and complete.
If you are looking for expert design assistance, please note that our North Kingstown and Cranston stores are our only showrooms for window treatments. Drop by either of these select locations to browse our extensive physical collection of custom blinds and draperies. Our team can help you select the perfect coverings to complement your newly painted walls.
You can learn more about our full range of design options by visiting our window treatments page, exploring our decorating services, or finding the closest storefront on our locations page.
Conclusion: Elevate Your Home with Expert Guidance
Once the painting is complete, remove the painter’s tape immediately while the paint is still slightly tacky. Wash your brushes and rollers thoroughly with warm, soapy water (for latex paints) before the paint dries on the bristles. To safely dispose of leftover latex paint, stir in equal parts cat litter or paint hardener, let it dry completely, and discard it in your regular household trash. That while paint drys within a few hours, it typically takes up to 30 days to fully cure into its maximum durable hardness—so hold off on scrubbing the walls or pushing heavy furniture flush against them for a few weeks!
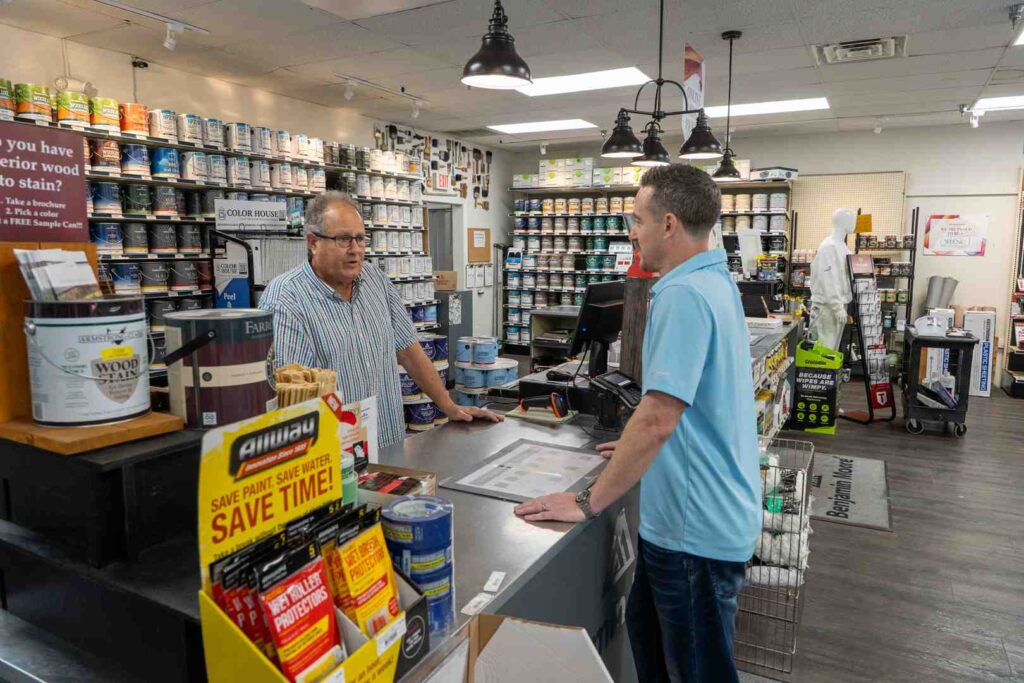
If you want to ensure your next project turns out absolutely flawless, we are here to help. The Color House is a proud, local, women-owned paint store specializing in premium Benjamin Moore paints, professional interior design, and commercial coatings. We offer expert, personalized advice and the largest inventory in Rhode Island to give you a tailored alternative to the sterile big-box store experience.
Whether you need to pick up premium supplies in Cranston, Middletown, North Kingstown, Smithfield, or Wakefield, we have you covered. Schedule a professional color consultation with us today, and let’s bring your dream home to life!